Friday, May 11, 2012

Portable Cupcakes


In addition to a very long week of daily pampering and gifts for Chloe's teacher we sent in some cupcakes for her this morning. For these portable cupcakes you just need a package of Wilton clear party bags, size 4 x 9.5 inches and a package of 9 oz. clear plastic cups. The 'Thank You' tags are the same ones I used last year. They were made by Skip To My Lou. You can find them on Tidy Mom's blog. Just bake your cupcakes in liners as usual. Then you can experiment. You can remove the cupcake from the liner and add  it to the cup and frost it or you can keep it in the liner and add it to the cup.  I added either tissue paper, decorative liners, or a regular liner to the outside of the cup and placed it in the bag. Tie the spoon on with a ribbon, add your tag with a bit of hot glue and your set!
  signature2

Friday, May 4, 2012

Black and Blueberry Mini Galettes

I'm on the galette bandwagon. Sweet or savory, I'm in love. They are rustic, which I like to think of as easy and imperfect, but still lovely and delicious. I love my shortcuts so I start with some pre-made pie crusts. Pillsbury. You will find these in the refrigerator section near the biscuits and stuff. I didn't really follow a recipe for this, I just looked over the Internet at some different recipes and based this off that. I'll do my best to give the "recipe" here. I used black and blueberries, but you can use any berries you wish. Also, I used fresh blackberries, but used frozen blueberries. You can really use whatever fruit you prefer such as raspberries or peaches.

rus-tic [ˈrəstik]
1. Having the simplicity and charm that is considered typical of the countryside
2. Charmingly simple or unsophisticated

ga-lette[gah-LEHT]
1: a flat round cake of pastry often topped with fruit
2: a food prepared and served in the shape of a flat round cake <a galette of potatoes>


Individual Berry Galettes

Ingredients:
2-3 cups berries, rinsed
2 Tbls sugar + more if needed
2 tsp cornstarch
2 thawed pie crust circles
Coarse sugar to sprinkle crust
Milk to brush on crust
Vanilla Ice Cream for serving(optional)

Preheat oven to 450 degrees. Line a baking sheet with a Silpat or parchment paper. Add your berries to a bowl. Add 2 Tbls. sugar, or more if you are using tart berries. Up to 1/4 cup of sugar total can be added. Add cornstarch to berry and sugar mixture and gently mix well. Allow to rest. Meanwhile, you want to find a round bowl or similar tool. It should be able to make 4 smaller round circles from your pie crusts. I used a 350 ml, 5 1/2 inch wide Rubbermaid container.


Cut out four pie rounds. Leaving a one inch margin around the edges, spoon berries into each individual pie round. Fold up the the sides, pinching together when necessary. Perfection in this step is not needed. Your goal is just to keep the berries supported. Brush a little milk on the folded edges of the crust and sprinkle with coarse (raw) sugar. Bake for 10-15 minutes, then reduce heat to 375 degrees and bake for an additional 40 minutes. Times and temps may vary slightly depending on your oven. Please watch these, check them often. Lay a piece of foil over the top if the crust is browning too fast. Once the berry juice starts bubbling they should be almost done.


signature2

Monday, April 30, 2012

Teacher Appreciation Cards

Believe it or not, I do not consider myself crafty or creative. I think I get by, but sometimes I get lucky and I turn out something wonderful. I share room mom duties and it was my turn to take the lead for Teacher Appreciation Week. We decided to do pretty much the same thing as I did last year. Instead of having the kids write a card, we decided on a fill in the blank card. Then I took it one step further and decided to make unique handmade cards. 27 of them. All different. I'm not a scrapbooker. I don't own a scrapbook. BUT, I do own buttons, paperclips, cardstock, ribbon and Swarovski crystals. I bought some paper flowers, apple stickers, and teacher motif cardstock at Michaels. Here's a sample of what we ended up with.


signature2

Monday, March 26, 2012

Hollywood Slumber Party


Some notes on a few things for you...

The Hollywood sign was made from foam poster board. I basically just used a ruler and box cutter. Each segment of the letters were six inches wide and as tall as I could make them on the board. I screwed them into garden stakes and hammered them into the lawn. It was quite windy but they survived. Some of them came apart from their screws and had to be taped last minute so perhaps tacky glue and screws is the way to go.

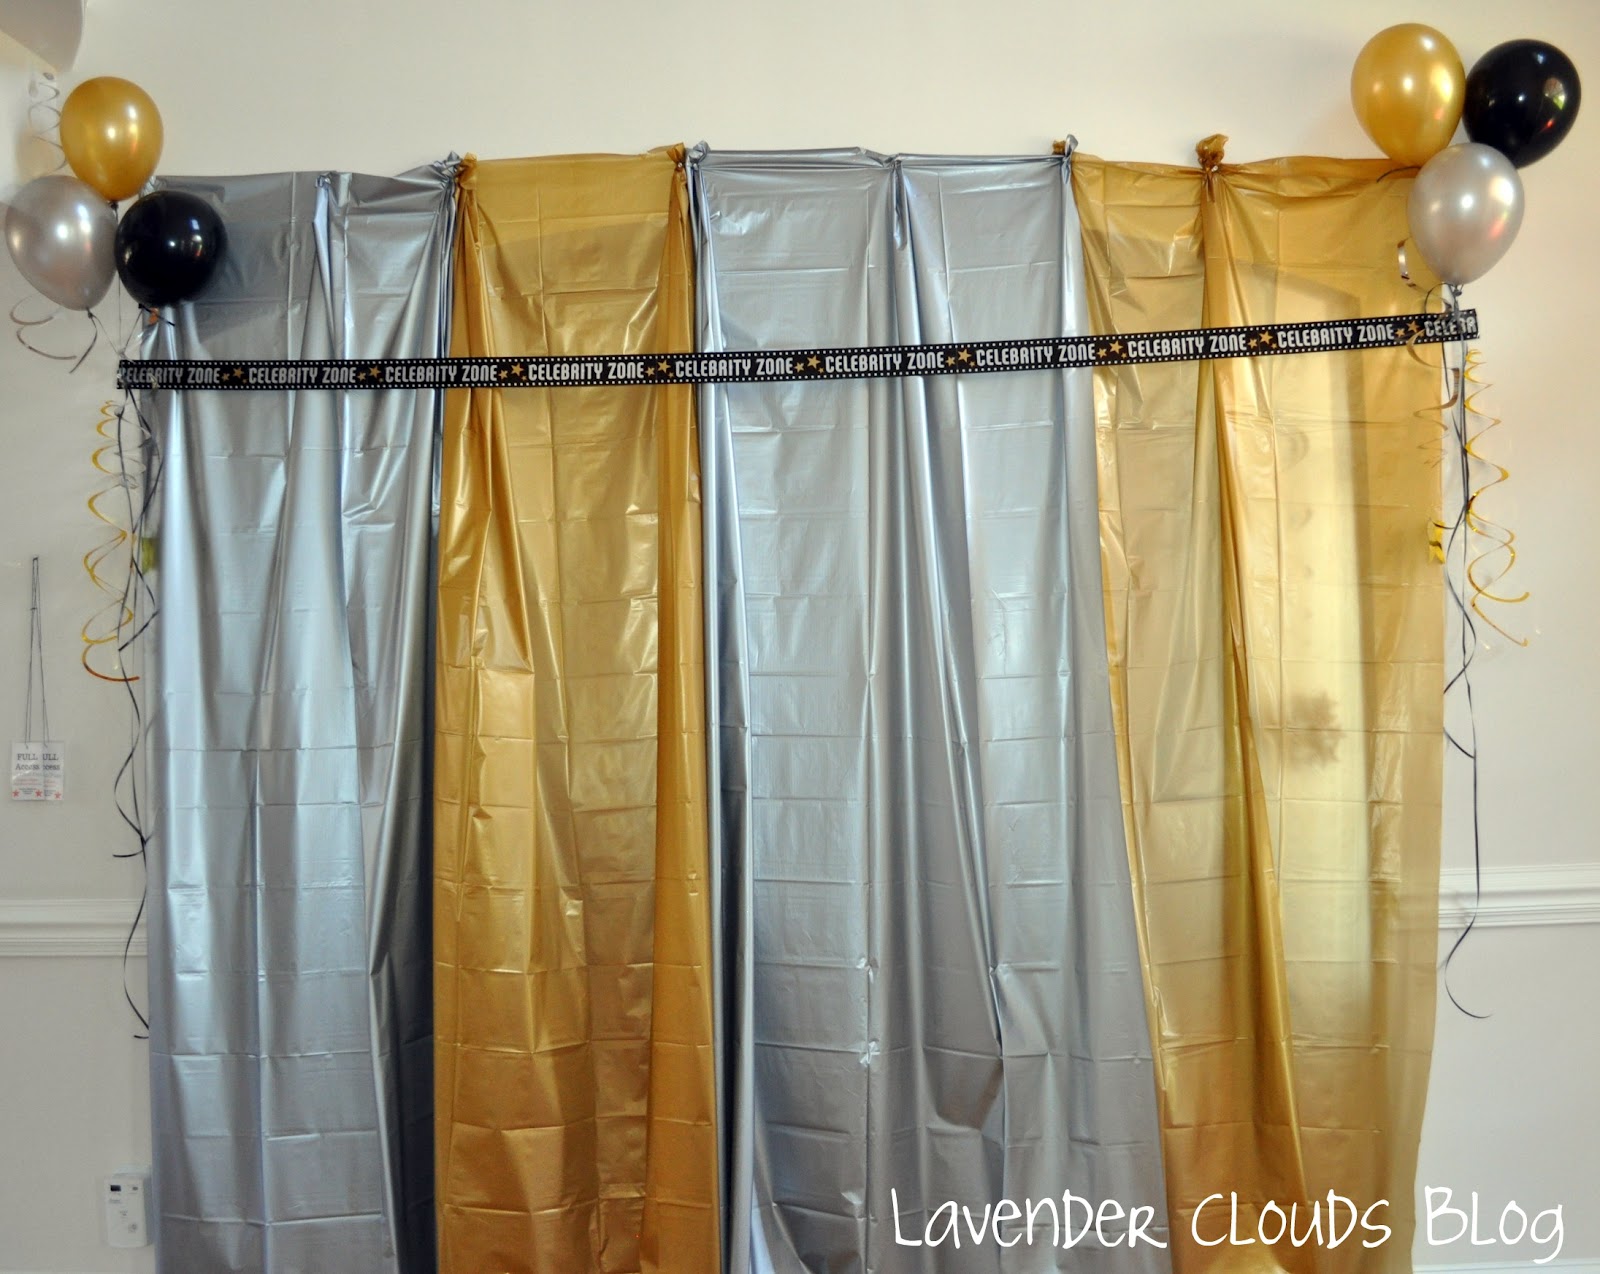
The party room entrance and ceiling decorations are made from vinyl tablecloths that I cut in half length wise. I saw that idea on Pinterest, but could never really find specific directions for it.

The star molds on the cupcakes were done with Wilton candy discs made the same way I did my seashell candy cupcakes. However this time, I added the luster dust with a brush to the star mold tray, before adding the melted candy. This saved me from having to hand paint each star.

I made the VIP badges on Word and had them laminated at Staples.

The "Swag Bags" had a few girlie things I picked up from the dollar section at Target and Michaels. Some items were a nail file, make up bag I found in the party colors, sleep mask, and hair accessories.

I would definitely suggest having a schedule with plenty of activities planned. There are many great sites out there to get ideas from. And always have a back-up plan! Some of our favorite things we did were...

  • The red carpet photos
  • Jenga during appetizers
  • A question box Chloe and I made. We all sat in a circle and each girl read and answered the question. Some were easy, others really made them think. They ranged from, If you had a super power, what would it be? How many kids do you want? If you found out your friend stole something, how would you react?
  • Pajama Fashion Show- This was the girls favorite activity. They had soooo much fun and really let loose. I gave them props like boas, hats, glasses, and we played a song for each girl to strut her stuff. The spectating girls went crazy for each girl on the catwalk, taking pictures of them with their phones and screaming for them!
  • Movies-I had three choices of movies and they watched two. One before bed and one in the morning after breakfast. I had on hand, Freaky Friday, Monte Carlo, and Cinderella Story with Hillary Duff.
  • Breakfast was kept super simple with yogurt, granola, mini chocolate chips, fruit, muffins, donut holes, and apple juice.
For helpful links and templates I used in my planning , click here.
signature2
This post was shared at:
Somewhat Simple UndertheTableandDreaming

Wednesday, March 7, 2012

Ribbon Storage

I have been looking for an organized way to store my ribbon for years. I have looked for storage box solutions, even trying once to make my own out of a cardboard box and a dowel. Recently I came up with this solution. While it didn't solve all my ribbon dilemmas, it's certainly a start in the right direction.

This is my armoir. All of my craft and office supplies are stored here. And now, so is my ribbon collection. Part of it anyway.

I still have more ribbon to store. Some of the holes in the cardboard ribbon holder are too small to fit over the smallest tension rod. This is still leaves me with the annoyance of eventually having to remove spools of ribbon from the rod in order to discard empty ones. Oh well, I can't have it all I guess!


Do you have a great way to store
ribbon you can share with me?
signature2